How to Test Your Microphone and Speakers in Zoom
TechZone

Testing your microphone and speakers in Zoom is crucial to ensure clear and effective communication during virtual meetings, conferences, and online classes.
A properly functioning microphone and speakers are essential for participants to hear and be heard clearly. This guide will explore the steps to test your microphone and speakers in Zoom, ensuring that your audio devices are working optimally before joining Zoom meetings.
Following these steps, you can troubleshoot any potential issues and provide a seamless Zoom experience for yourself and others.
In this guide, we will walk you through the steps to test your microphone and speakers in Zoom, including using Mic Tester, an online tool designed for microphone testing.
Easy Ways to Test Your Microphone and Speakers in Zoom
Step 1: Access Zoom Settings
Start by opening the Zoom desktop application or web client and signing in to your account. Once logged in, click on your profile picture or initials in the top right corner and select "Settings" from the dropdown menu.
Step 2: Navigate to Audio Settings
In the Settings window, select the "Audio" tab from the menu on the left. Here, you'll find options to configure your microphone and speaker settings.
Step 3: Test Microphone
Under the "Microphone" section, you'll see a dropdown menu where you can select the microphone you want to use.
Choose the appropriate microphone from the list. Next, click the "Test Mic" button to check if your microphone works properly.
Follow the on-screen instructions to speak into your microphone, and Zoom will play back the audio to ensure it's picked up correctly.
Step 4: Test Speakers
After testing your microphone, navigate to the "Speaker" section in the Audio Settings. Here, you can select the speakers you want to use for audio output during Zoom meetings.
Once you've chosen the appropriate speakers, click the "Test Speaker" button. Zoom will play a test sound through your selected speakers, allowing you to verify that they are working correctly.
Step 5: Use Mic Tester for Additional Testing

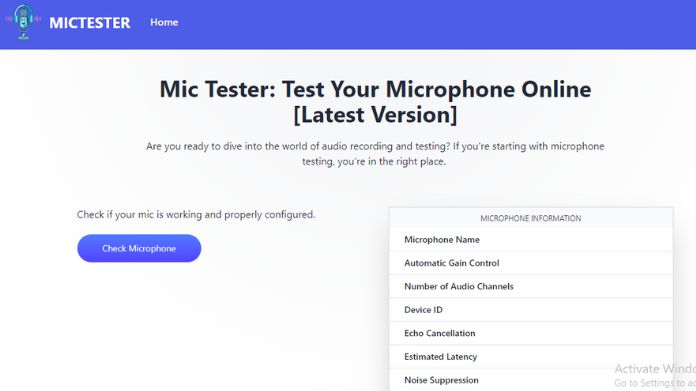
For an extra layer of assurance, consider using Mic Tester, an online tool designed explicitly for microphone testing. Open your web browser and navigate to the Mic Tester website.
Grant permission for the website to access your microphone, and follow the instructions provided to perform the microphone test. Mic Tester will provide feedback on the quality of your microphone, allowing you to ensure optimal performance.
Step 6: Adjust Settings (if necessary)
If any issues are detected during the microphone or speaker tests, you can adjust the settings in Zoom accordingly.
Select a different microphone or speaker from the dropdown menus in the Audio Settings. Additionally, you can adjust the microphone and speaker volume levels to your preference.
Conclusion
Testing your microphone and speakers in Zoom ensures clear and effective communication during virtual meetings and calls.
Following the steps outlined in this guide, including using Mic Tester for additional testing, you can verify that your audio devices are working correctly before joining a Zoom meeting.
Testing your microphone and speakers ensures a seamless and productive Zoom experience for all participants.